
Plantronics Voyager Legend Bluetooth Headset: A Comprehensive User Guide
Welcome! This guide details setup and use of your new Plantronics Voyager Legend UC headset, including the BT300 adapter, offering auto-answer functionality.
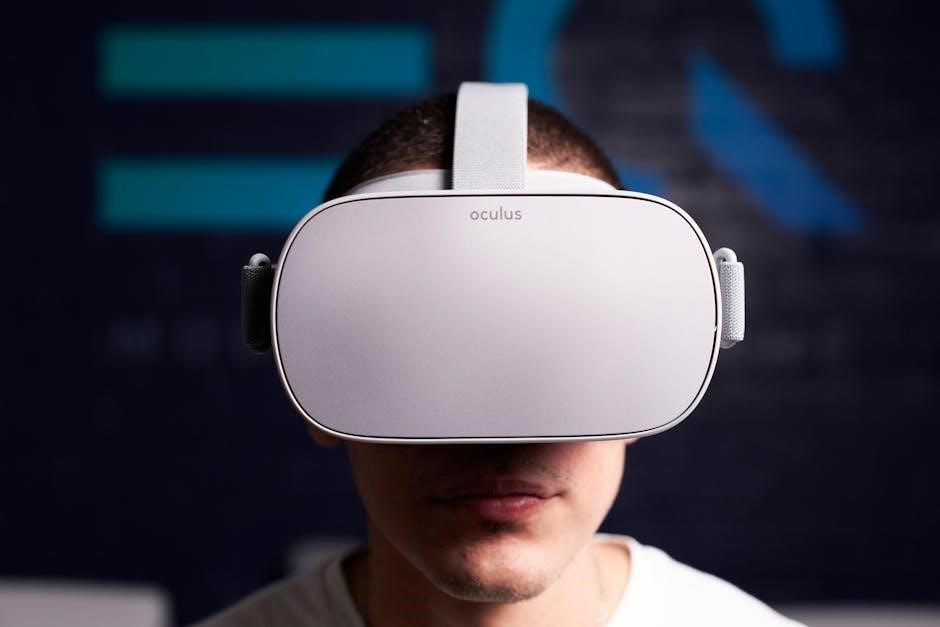
Congratulations on selecting the Plantronics Voyager Legend, a premier wireless headset designed for exceptional call clarity and all-day comfort. This headset seamlessly blends advanced noise-cancelling technology with intuitive features, making it ideal for mobile professionals and anyone seeking a superior audio experience.
The Voyager Legend offers a comfortable, ergonomic design, ensuring a secure and pleasant fit even during extended use. It’s engineered for easy connectivity, supporting both Bluetooth pairing with smartphones and tablets, as well as connection via the included BT300 Bluetooth USB adapter for computers.
A key feature is its automatic call answering capability – simply place the headset on your ear, and it will automatically answer incoming calls. This guide will walk you through every aspect of your Voyager Legend, from initial setup to troubleshooting, empowering you to maximize its potential and enjoy uninterrupted communication.
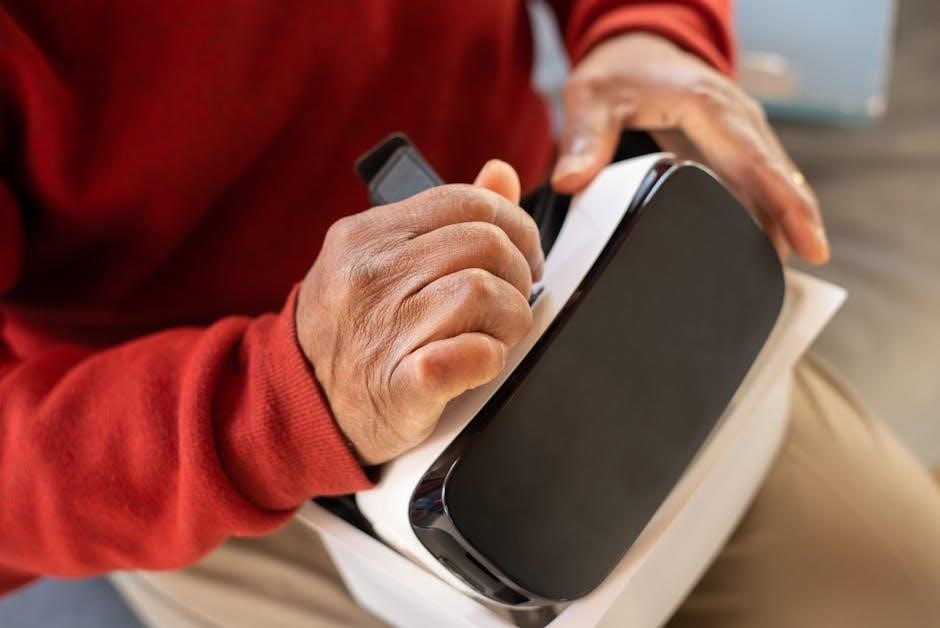
Unboxing and Components
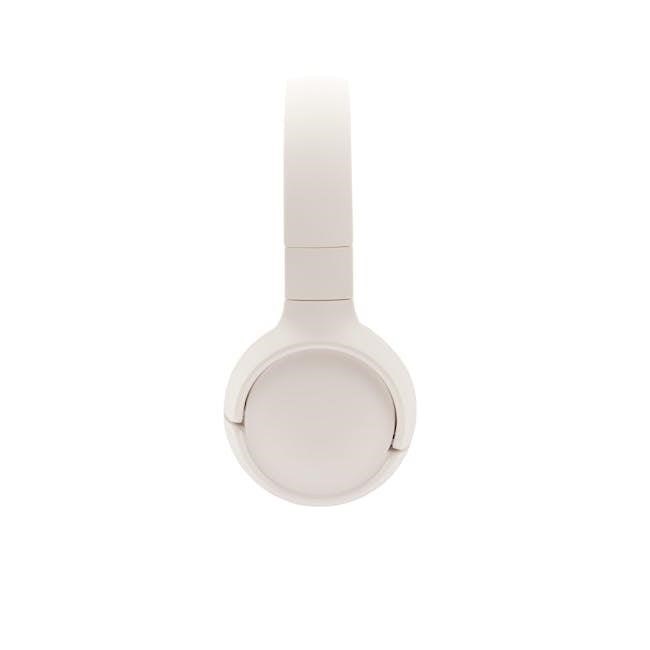
Upon opening your Plantronics Voyager Legend package, carefully verify that all components are present. You should find the Voyager Legend Bluetooth headset itself, designed with a single-ear ergonomic fit for comfortable, all-day wear. Also included is the dedicated charging case, crucial for extending battery life and protecting your investment.
The package also contains the BT300 Bluetooth USB adapter, enabling seamless connectivity to computers and laptops without built-in Bluetooth capabilities. A micro-USB charging cable is provided for powering both the headset and the charging case. Finally, you’ll receive important safety and warranty information, alongside a quick start guide to get you up and running swiftly.
Inspect each item for any signs of damage. If anything is missing or appears defective, contact Plantronics support immediately for assistance. Retain the original packaging for potential returns or warranty claims.
Charging the Headset and Charging Case
To charge your Plantronics Voyager Legend headset, connect the provided micro-USB cable to the charging port on the headset and a powered USB source. A full charge typically takes approximately 2.3 hours, providing up to 7 hours of talk time. The LED indicator will illuminate to show charging status, turning off when complete.
The charging case also utilizes the micro-USB cable for power. Charging the case fully extends the total talk time to up to 21 hours, as the case provides multiple charges for the headset. When the headset is placed in the charging case, it automatically begins to recharge.
It’s recommended to fully charge both the headset and the charging case before initial use. Avoid using damaged USB cables or power adapters. Regularly charging the case ensures your headset is always ready when you need it.

Setting Up Your Voyager Legend
Connect seamlessly! Pair via Bluetooth to mobile devices or utilize the included BT300 USB adapter for computer connectivity, enabling multi-device use.
Pairing with Mobile Devices via Bluetooth
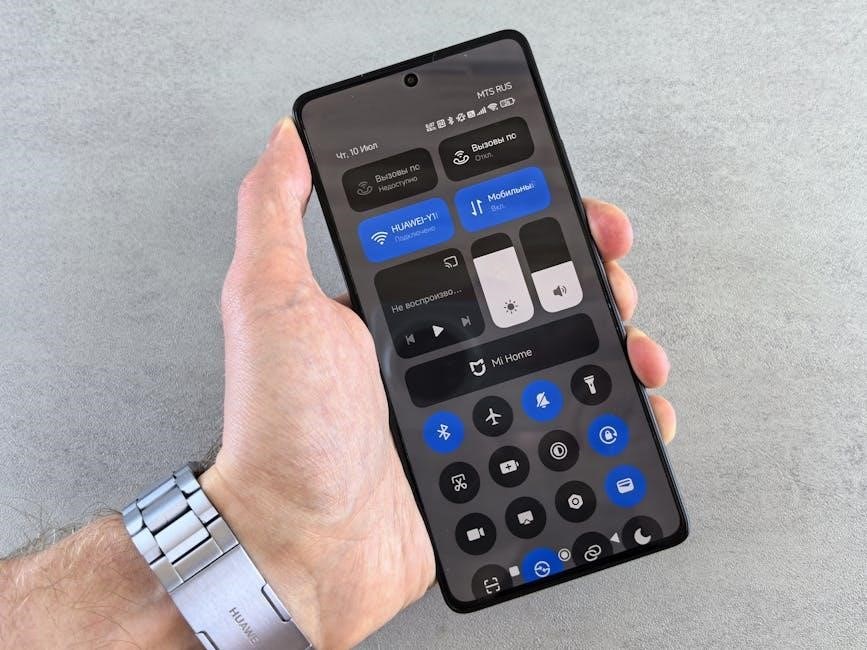
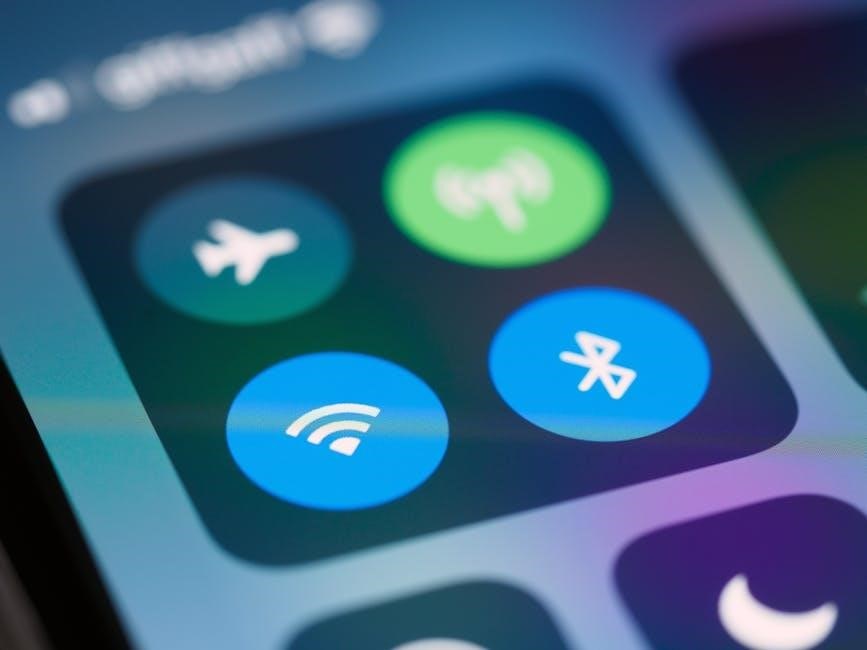
Initiating Bluetooth Pairing: To connect your Plantronics Voyager Legend to a smartphone or tablet, ensure Bluetooth is enabled on your mobile device. With the headset powered off, press and hold the Call Answer/End button for approximately seven seconds until the indicator light begins to flash red and blue. This signifies the headset is in pairing mode.
Device Discovery: On your mobile device, navigate to the Bluetooth settings menu and initiate a device scan. The Voyager Legend should appear in the list of available devices. Select “Plantronics Voyager Legend” to begin the pairing process.
Passkey/PIN: If prompted, enter the passkey “0000” (four zeros). Once successfully paired, the indicator light on the headset will turn solid blue, confirming a stable connection. You may now enjoy hands-free calling and audio streaming. Remember to repeat these steps for each new device you wish to connect.
Using the BT300 Bluetooth USB Adapter
Connecting to Computers: The included BT300 Bluetooth USB adapter allows connection to computers lacking built-in Bluetooth capabilities. Simply plug the adapter into an available USB port on your computer. The adapter’s indicator light will flash, indicating it’s searching for the headset.
Headset Discovery & Pairing: Ensure your Voyager Legend is powered on. The BT300 will automatically detect and attempt to pair with the headset. If pairing doesn’t occur automatically, press the button on the BT300 adapter until its indicator light flashes. The headset will then connect.
Successful Connection: A solid blue light on both the headset and BT300 confirms a successful connection. Your computer will recognize the Voyager Legend as an audio device. Select it as your preferred microphone and speaker within your computer’s sound settings for optimal performance.
Multi-Device Connection
Seamless Switching: The Voyager Legend supports connecting to both your mobile phone and a computer simultaneously via Bluetooth. This allows you to effortlessly switch between calls on your phone and audio from your computer.
Initial Pairing: First, pair the headset with your mobile device as described previously. Then, pair it with the BT300 adapter connected to your computer. The headset remembers paired devices, simplifying future connections.
Call Transfer & Audio Routing: When receiving a call on your mobile phone while on a computer call, the Voyager Legend will prompt you to transfer the call or manage both simultaneously. Audio routing automatically adjusts based on the active device. Prioritize devices in your Bluetooth settings for preferred connection order.
Headset Controls and Features
Intuitive Design: Easily manage calls and volume with dedicated buttons, plus utilize convenient voice commands for hands-free operation and a responsive mute function.
Call Control Buttons (Call Answer/End, Volume)
Effortless Call Management: The Plantronics Voyager Legend features intuitively placed call control buttons for seamless operation. To answer an incoming call, simply press the Call Answer/End button once; To end a call, press the same button again. A quick double-press often redials the last number called, providing convenient access to frequent contacts.
Volume Adjustment: Volume control is equally straightforward. Dedicated volume buttons allow you to easily increase or decrease the audio level to your preferred setting. These buttons provide precise control, ensuring clear audio during calls, even in noisy environments. The headset remembers your last volume setting for future use.
Combined Functionality: These buttons are ergonomically designed for comfortable and reliable use, even during extended conversations. Mastering these controls allows for a truly hands-free communication experience, maximizing productivity and convenience.
Voice Commands and Activation
Hands-Free Control: The Voyager Legend boasts advanced voice command functionality, enhancing usability and convenience. Activation is typically initiated by pressing a dedicated button on the headset, prompting the voice assistant. Once activated, you can issue commands for various tasks, streamlining your communication experience.
Supported Commands: Common voice commands include answering or rejecting calls (“Answer,” “Ignore”), redialing the last number (“Redial”), and adjusting the volume (“Volume up,” “Volume down”). Specific commands may vary depending on your connected device and voice assistant settings.
Personalized Experience: Explore the full range of voice commands within your device’s settings to personalize your headset experience. This feature allows for truly hands-free operation, increasing productivity and safety while on the go. Ensure clear pronunciation for optimal command recognition.
Mute Functionality
Privacy and Control: The Voyager Legend provides a dedicated mute function, crucial for maintaining privacy during calls or preventing unwanted audio transmission. A physical mute button on the headset allows for quick and easy activation and deactivation of the microphone.
Visual and Audible Indicators: When muted, the headset typically provides both a visual indicator – often an LED light – and an audible tone to confirm the status. This dual confirmation ensures you are aware of your microphone’s state, preventing accidental broadcasting of sensitive information.
Seamless Communication: The mute function is seamlessly integrated with call controls, allowing you to quickly silence yourself without interrupting the conversation. It’s an essential feature for professional use and maintaining clear, controlled communication in any environment. Regular checks of the mute status are recommended.
Audio and Connectivity
Superior Sound: Experience clear conversations with wideband audio and effective noise cancellation, ensuring optimal call quality and a stable Bluetooth connection.
Noise Cancelling Technology
Immersive Audio Experience: The Plantronics Voyager Legend utilizes advanced noise-cancelling technology to minimize disruptive background noise, ensuring crystal-clear call quality even in bustling environments. This feature actively filters out unwanted sounds, allowing you to focus solely on the conversation at hand.
Digital Signal Processing: Employing sophisticated digital signal processing (DSP), the headset effectively suppresses wind noise, engine rumble, and other common distractions. This is particularly beneficial for professionals who frequently take calls while commuting or working in noisy office spaces. The noise cancellation isn’t just about blocking sound; it’s about enhancing speech clarity for both you and the person on the other end of the line.
Adaptive Noise Control: The system intelligently adapts to varying noise levels, optimizing performance in diverse settings. Whether you’re in a quiet room or a crowded café, the Voyager Legend delivers a consistently superior audio experience. This adaptive capability ensures that the noise cancellation is always working effectively without compromising sound quality.
Wideband Audio Quality
Rich and Natural Sound: The Plantronics Voyager Legend boasts exceptional wideband audio quality, delivering richer, clearer, and more natural-sounding voice calls. This technology expands the range of frequencies transmitted, resulting in a more lifelike conversation experience. Unlike standard narrowband audio, wideband captures more of the nuances of the human voice.
Enhanced Speech Clarity: Wideband audio significantly improves speech clarity, making it easier to understand callers and be understood. This is crucial for productive conversations, especially in professional settings where precise communication is essential. The headset accurately reproduces vocal tones, reducing distortion and improving overall intelligibility.
Immersive Communication: Experience a more immersive and engaging communication experience with the Voyager Legend’s wideband capabilities. It’s like having a face-to-face conversation, even when you’re miles apart. This superior audio quality minimizes listener fatigue and fosters stronger connections during calls.
Bluetooth Range and Stability
Extended Wireless Freedom: The Plantronics Voyager Legend offers a reliable Bluetooth connection with an impressive range, typically up to 30 feet (10 meters). This extended range allows you to move freely around your workspace or home office without experiencing dropped calls or audio interruptions. Enjoy seamless connectivity and untethered mobility.
Stable Connection: Bluetooth stability is paramount for a consistent user experience. The Voyager Legend utilizes Bluetooth technology designed to maintain a strong and stable connection, even in environments with potential interference. This minimizes frustrating disconnections and ensures clear audio throughout your conversations.
Optimized Performance: For optimal range and stability, ensure a clear line of sight between the headset and the paired device. Walls and other obstructions can reduce the effective range. The BT300 adapter further enhances Bluetooth performance, providing a robust connection to your computer.
Troubleshooting and Support
Need Help? This section provides solutions for common issues and guides you through factory resetting your Voyager Legend headset for optimal performance.
Common Issues and Solutions
Headset Won’t Pair: Ensure Bluetooth is enabled on your device and the headset is in pairing mode. Remove previous pairings and try again. Check for interference.
Poor Audio Quality: Verify the headset is fully charged. Clean the microphone port. Ensure wideband audio is supported by your device and call provider. Adjust volume levels.
Headset Not Charging: Confirm the charging cable is securely connected to both the headset and a power source. Try a different USB port or adapter. Clean the charging contacts.
Noise Cancellation Issues: Ensure the headset is properly positioned on your ear. Noise cancellation works best in consistent noise environments. Software updates can improve performance.
Call Issues: Check your device’s Bluetooth connection. Restart both the headset and your mobile device. Confirm the headset is selected as the audio device.
For further assistance, consult the official Plantronics/Poly support website for detailed troubleshooting guides and FAQs.
Factory Resetting the Headset
Performing a factory reset restores the Plantronics Voyager Legend to its original settings, clearing all paired device history and customized preferences. This is useful for resolving persistent issues or preparing the headset for a new user.
To initiate the reset: With the headset powered off, press and hold both the ‘Call Answer/End’ and ‘Volume Down’ buttons simultaneously for approximately 10 seconds. The headset will indicate the reset with a specific light pattern or audible tone.
Confirmation: Once the reset is complete, the headset will return to pairing mode, indicated by a flashing blue light. You will then need to re-pair the headset with your desired devices.
Important Note: A factory reset will erase all saved settings. Ensure you have any necessary pairing information available before proceeding. Refer to the official Poly/Plantronics support documentation for the most up-to-date instructions.